Greek Yogurt Bagels: 3 Easy Steps to Make Them at Home
Craving a healthier bagel? These fluffy Greek yogurt bagels are a game-changer! Made with just two simple ingredients—Greek yogurt and self-rising flour—they come together in a flash, no yeast or proofing required. In under 45 minutes, you can enjoy warm, homemade bagels that are both delicious and nutritious. I love how the Greek yogurt adds a subtle tang and boosts the protein content, making these bagels a wholesome choice for breakfast or a midday snack.
Ingredients
For the Bagels:
- Self-Rising Flour: Provides the necessary leavening without the need for yeast.
- Non-Fat Greek Yogurt: Adds moisture and a slight tang, while increasing the protein content.
- Egg (optional): For brushing on top to achieve a golden, glossy finish.
- Toppings (optional): Such as everything bagel seasoning, sesame seeds, or poppy seeds, to add flavor and texture.
Prep Time & Cook Time
- Prep Time: 5 minutes
- Cook Time: 25 minutes
- Total Time: 30 minutes
Step-by-Step Instructions
- Preheat the Oven: Set your oven to 375°F (190°C) and line a baking sheet with parchment paper.
- Mix the Dough: In a medium bowl, combine 1 cup of self-rising flour with 1 cup of non-fat Greek yogurt. Stir until a dough forms.
- Knead the Dough: Transfer the dough to a lightly floured surface and knead for about 2 minutes until smooth.
- Shape the Bagels: Divide the dough into 4 equal portions. Roll each portion into a rope and join the ends to form a bagel shape.
- Prepare for Baking: Place the shaped bagels on the prepared baking sheet. If desired, brush the tops with a beaten egg and sprinkle with your chosen toppings.
- Bake: Bake in the preheated oven for 25 minutes, or until the bagels are golden brown.
- Cool and Serve: Allow the bagels to cool on a wire rack for a few minutes before slicing and serving.
Tips & Tricks
- Flour Consistency: Ensure you're using self-rising flour for the best results. If you don't have any, you can make your own by combining 1 cup of all-purpose flour with 1.5 teaspoons of baking powder and a pinch of salt.
- Dough Stickiness: If the dough is too sticky to handle, lightly flour your hands and work surface. Alternatively, add a bit more flour to the dough until it reaches a manageable consistency.
- Flavor Variations: Experiment with different toppings like sesame seeds, poppy seeds, or a sprinkle of cinnamon sugar for a sweet twist.
- Egg Wash Alternatives: For a vegan option, skip the egg wash or use a plant-based milk to brush the bagels before baking.
- Storage: These bagels are best enjoyed fresh but can be stored in an airtight container at room temperature for up to 2 days.
Serving Suggestions
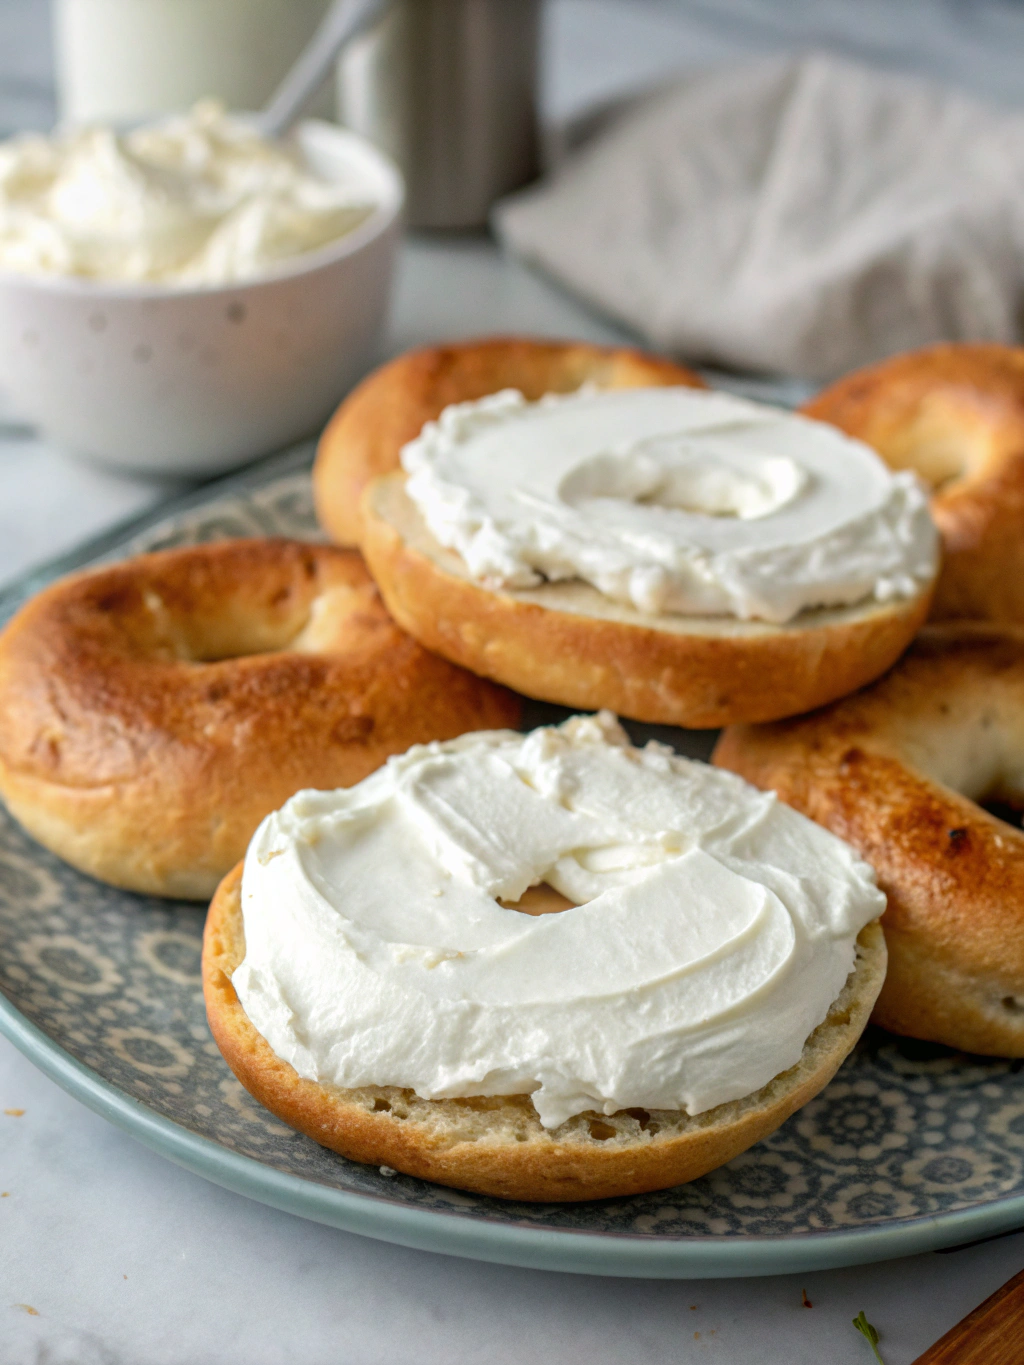
- Cream Cheese: Spread a generous layer of your favorite cream cheese for a classic combination.
- Smoked Salmon: Top with smoked salmon, capers, and red onion for a savory treat.
- Avocado: Mash avocado with a sprinkle of salt and pepper for a creamy, healthy spread.
- Egg Sandwich: Slice the bagel and fill with a fried egg, cheese, and bacon for a hearty breakfast sandwich.
Storage & Reheating
- Storage: Store leftover bagels in an airtight container at room temperature for up to 2 days.
- Freezing: For longer storage, freeze the bagels in a zip-top bag for up to 3 months.
- Reheating: To reheat, slice the bagel and toast it in a toaster or oven until warmed through.
Nutrition Info
Per serving (1 bagel):
- Calories: Approximately 160 kcal
- Protein: 10 g
- Fat: 1.5 g
- Carbohydrates: 26 g
- Fiber: 1 g
- Sugar: 2 g
- Sodium: 400 mg
Note: Nutritional values are approximate and may vary based on specific ingredients used.
Final Thoughts
These Greek yogurt bagels are a delightful and healthier alternative to traditional bagels. With their soft, chewy texture and subtle tang, they're perfect for customizing with your favorite toppings. I hope you enjoy making and eating these as much as I do! Feel free to share your variations and any tips you discover along the way. Happy baking!